Replacing the bumper and corner bumper on your Volvo VNL is an essential part of vehicle maintenance, especially after a minor collision or impact. Bumpers play a crucial role in protecting vital components like the radiator, headlights, and engine from damage during accidents. Corner bumpers, in particular, offer additional protection for the front corners of the truck, reducing damage from low-speed collisions, often encountered in tight parking or narrow roadways.
If your Volvo VNL bumper or corner bumper is damaged, replacing them with aftermarket parts can ensure your truck continues to perform at its best while also saving you money. In this step-by-step guide, we'll show you how to properly remove and replace your Volvo VNL bumper and corner bumper, with tips for selecting quality aftermarket Volvo truck parts.
Tools You Will Need:
Before starting the replacement, make sure you have the following tools at hand:
- Socket set and wrenches
- Screwdrivers (flathead and Phillips)
- Pry bar or trim tool (for removing fasteners)
- Torque wrench
- Replacement bumper and corner bumper (preferably from an aftermarket Volvo truck parts store)
Step 1: Prepare Your Volvo VNL Truck
- Park on a flat surface: Ensure your Volvo VNL is parked on a level surface. Use wheel chocks to prevent the truck from rolling.
- Disconnect the battery: To avoid any electrical mishaps, disconnect the truck battery. This is especially important if the bumper has any electrical components such as sensors, fog lights, or wiring.
- Raise the truck (if necessary): If the bumper is mounted lower on the truck, you may need to raise the front of the Volvo VNL using a jack and secure it with jack stands for better access.
Step 2: Remove the Existing Bumper
- Locate and remove fasteners: Start by inspecting the Volvo VNL bumper for visible fasteners. These are usually located along the top, sides, and underneath the bumper. Use your socket set and wrenches to remove bolts, screws, and clips holding the bumper in place.
- Disconnect electrical connections (if any): Some Volvo VNL bumpers may have integrated fog lights, sensors, or wiring for cameras. Gently disconnect these connections before fully removing the bumper.
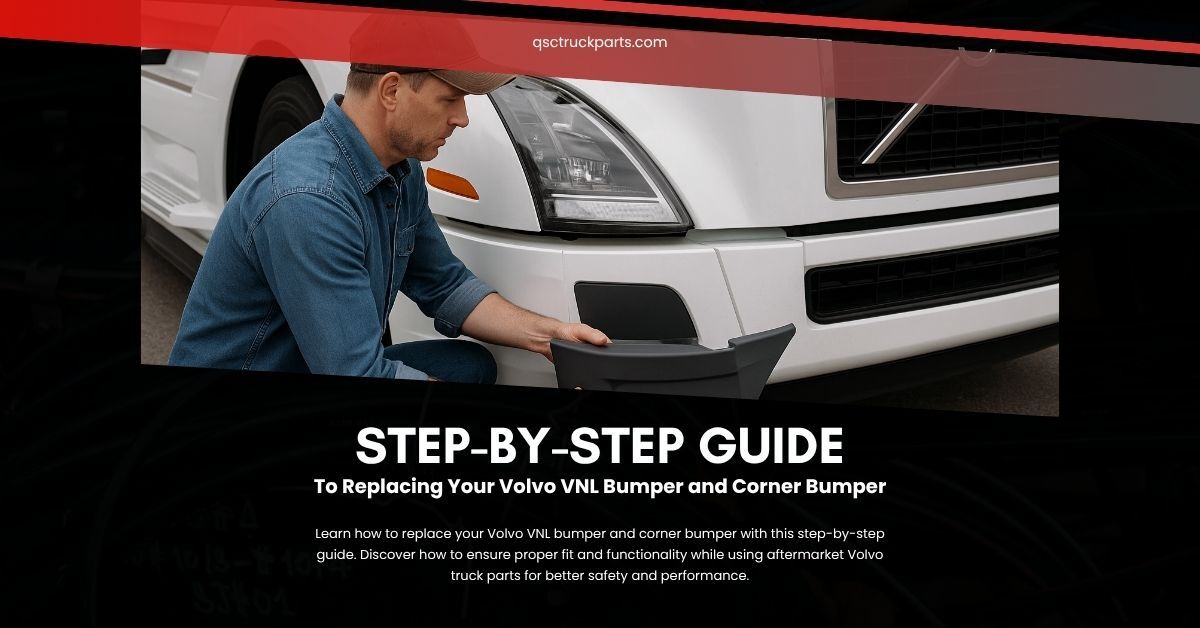
- Remove the corner bumper: The Volvo VNL corner bumper is typically held in place by bolts or screws. Remove them, and gently pull the corner bumper off.
- Take out any mounting brackets: Depending on your Volvo VNL bumper model, there may be brackets securing the bumper. These need to be removed as well.
Step 3: Inspect the Frame and Clean
Once the bumper is removed, take a moment to inspect the frame and underlying components. Look for:
- Any bent or damaged parts that may need to be replaced.
- Rust or corrosion, especially near the mounting areas.
- Clean any dirt, road salt, or debris from the area before installing the new bumper. This ensures the new aftermarket Volvo VNL bumper will fit snugly and securely.
Step 4: Install the New Aftermarket Volvo VNL Bumper
- Position the new bumper: Carefully position the new aftermarket Volvo VNL bumper in place. Make sure it aligns with the frame and mounting points.
- Install the mounting brackets: If your new bumper comes with additional mounting brackets, install them first. Secure the bumper to these brackets using the appropriate bolts or screws.
- Secure the bumper: Once the bumper is properly aligned, tighten the bolts securely. Ensure the bumper is level and firmly attached.
- Reconnect any electrical components: If your Volvo VNL bumper had fog lights, sensors, or wiring, reconnect these components now. Test the functionality of any electrical features to ensure they’re working correctly.
Step 5: Install the New Corner Bumper
- Position the corner bumper: Position the Volvo VNL corner bumper in place, aligning it with the mounting holes.
- Secure the corner bumper: Use the screws or bolts to attach the corner bumper to the main bumper frame. Tighten them securely.
- Check for proper fit: Ensure the corner bumper is aligned with the rest of the truck and securely fastened.
Step 6: Test the New Bumper and Corner Bumper
- Test the alignment: Check the alignment of both the Volvo VNL bumper and corner bumper. The bumpers should be evenly placed and not misaligned.
- Reconnect the battery: Reconnect the truck’s battery and test the bumper’s functions (such as fog lights or sensors) to make sure everything is operating as expected.
- Test the vehicle: Carefully test drive the truck to ensure the new bumpers don’t interfere with the truck’s performance, steering, or other vehicle systems.
Step 7: Final Touches
- Inspect the work: Do a final inspection to make sure all fasteners are tight and secure.
- Clean up: Remove any tools from the area, and ensure the workspace is clean.
Why Choose Aftermarket Volvo VNL Bumpers?
Choosing aftermarket Volvo VNL bumpers offers a cost-effective solution without compromising on quality. Aftermarket bumpers often provide:
- Customization options: Many aftermarket bumpers come in different designs and finishes, allowing you to tailor the look of your Volvo VNL to your preferences.
- Durability: High-quality aftermarket bumpers are made from tough materials like steel and aluminum, ensuring better durability compared to OEM options.
- Cost savings: Aftermarket options are typically more affordable than OEM parts, offering better value for money without compromising on safety and performance.
Conclusion
Replacing your Volvo VNL bumper and corner bumper doesn’t have to be a complicated task. By following the steps outlined above, you can ensure that your truck is equipped with high-quality aftermarket parts that provide excellent protection while keeping maintenance costs low. For the best selection of aftermarket Volvo truck parts, always check with trusted stores near you. By using high-quality replacement parts, you’re enhancing your Volvo VNL’s safety and durability for the road ahead.
